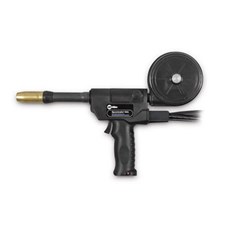
Miller WC-115A with Contactor #137546011
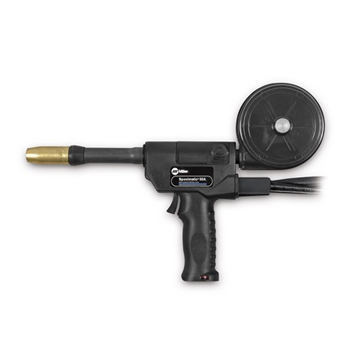
The Miller WC-115A with Contactor #137546011 control operates on 115 VAC and is designed primarily for CC DC power sources. It can also be used with CV power sources or DC engine drives supplying 115 VAC. When used with a CC source, the control circuit functions in a voltage-sensing mode. When used with a CV source, it functions as a constant-speed circuit. Works seamlessly with the Miller Spoolmatic® 15A & Spoolmatic® 30A for fast torch fed wire welding.
Features and Benefits:
- Wire run-in control and drive motor acceleration control ensure optimum arc starting performance.
- 10-foot (3 m), wall-type plug power cord allows for greater dexterity in your welding environment.
- Can also be used with CV power sources or DC engine drives
- Miller's True Blue Warranty for 1 year
Shop for more welding equipment and accessories online.
GENERAL SPECIFICATIONS
| Title | WC-115A with Contactor #137546011 |
| Warranty | Miller's True Blue Warranty |
SHIPPING DIMENSIONS |
|
| Height: | 1200.00 Inches |
| Width: | 16.00 Inches |
| Length: | 24.00 Inches |
| Weight: | 24 Lb(s) 0 Oz |
Accessories
Consumables
Product Questions and Answers
How to Install Voltage Sensing Lead:
-
Locate Parts.
Locate the parts needed for the voltage sensing lead.
-
Connect Terminal.
Connect ring terminal on the end of the cord using the screw-in clamp. Crimp clamp tabs around the cord.
-
Attach Strain Relief.
Slide Strain Relief onto cord approximately 6 in from cord end.
-
Remove plug.
Remove upper hole plug from the rear panel.
-
Insert cord.
Insert the cord into the opening in the rear panel and secure strain relief into the opening.
-
Connect Lead.
Connect voltage sensing lead to terminal strip 1TK at lead 42.
-
Workpiece Connection.
For constant current welding(CC), place jumper plug in the EXT position and connect voltage sensing lead to the workpiece.


